


We received the Cricut Explore 3 and materials in exchange for this review
You know when you scroll through social media and see all the amazing items being made and you think, I would really love to do that? That was me for a really long time. I would browse crafting groups for hours looking at all the different creations others were making and wishing I could do that. Well, when Cricut got in touch I jumped (literally!) for the chance to work with them and I couldn’t wait to get started.
Cricut Explore 3
Cricut sent me the Explore 3, one of the latest machines to be released. It comes in a Mint colour and features the latest technology. It combines digital cutting, drawing, scoring and foiling at a push of a button and it is really easy to use! Teamed with Cricuts very own Design Space there are literally hundreds of projects to choose from or you can create your own.
One of the things I was really suprised with was that the Explore Air 3 uses bluetooth technology and not Wi-Fi, so you don’t need an internet connection to make it work.
The machine can cut over 100 different materials from Cardstock, vinyl and iron-on to materials such as cork, vellum and bonded fabric. It cuts 2 times faster than the previous Cricut Explore Air 2’s fast mode when teamed with the Smart Materials.
Design Space
Design Space is a free app to use alongside the Cricut Explore 3. It is available on iOS, Android, Windows and Mac and it is really easy to use. There are thousands of images, fonts and ready to make projects all at your fingertips.
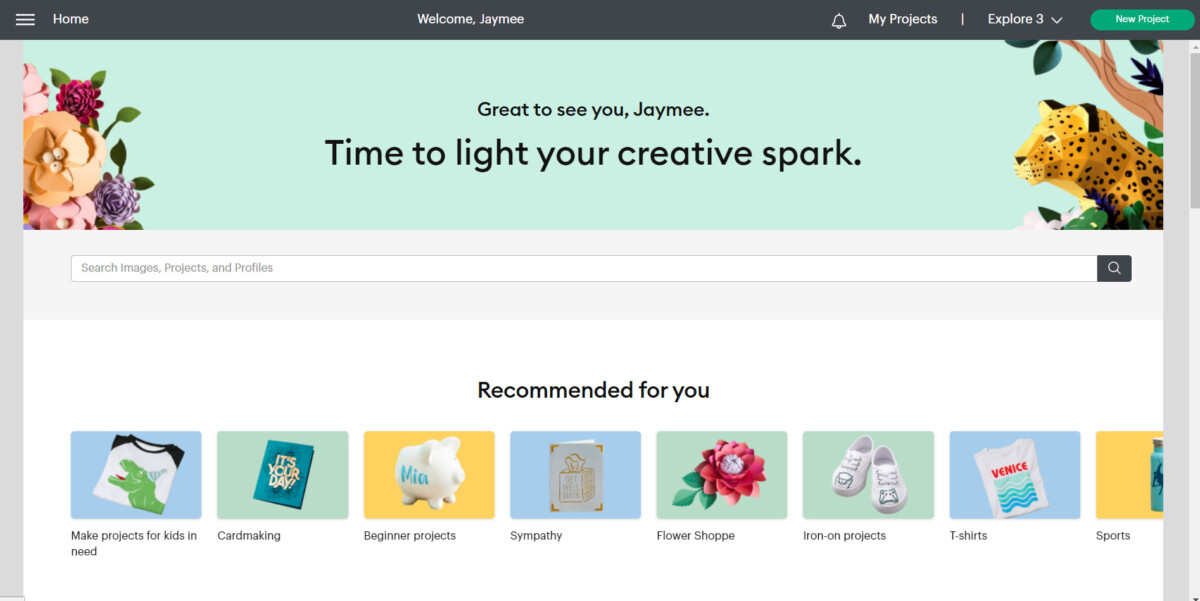
There is an optional subscription service which you can sign up too and this gives you access to all the premium content, but you do not need to be signed up to this to still access them. If you have a project in mind and the font/image isn’t part of the free element you can pay for the items individually too!
Getting Started
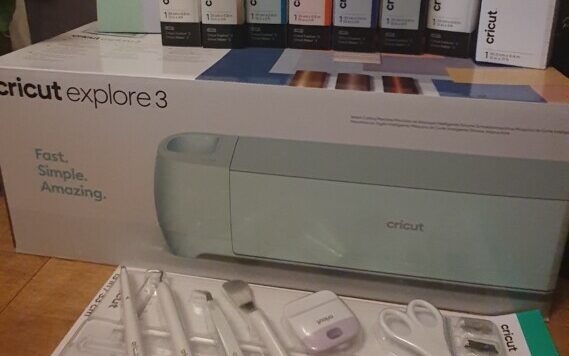
What is in the box?
So in the box comes;
* The Cricut Explore 3
* USB Cord
* Power Cord
*Fine Point Blade and housing (this has already been installed into the machine)
*A welcome Book
*Practice materials – A variety of different vinyls/cardstock to practice on!
Previously with other Cricut machines you would place your materials onto a mat, with the Cricut Explore 3 you no longer need to use a mat when using the Cricut Smart Materials. So the machine doesn’t come with a mat, you can pick these up separately though.
Getting Started
Getting started was really easy too! After I paired the machine with Design Space everything was ready to go! All I needed to do was choose what to make and this was the hardest part! I started with something really easy and made some keyrings for Christmas gifts.
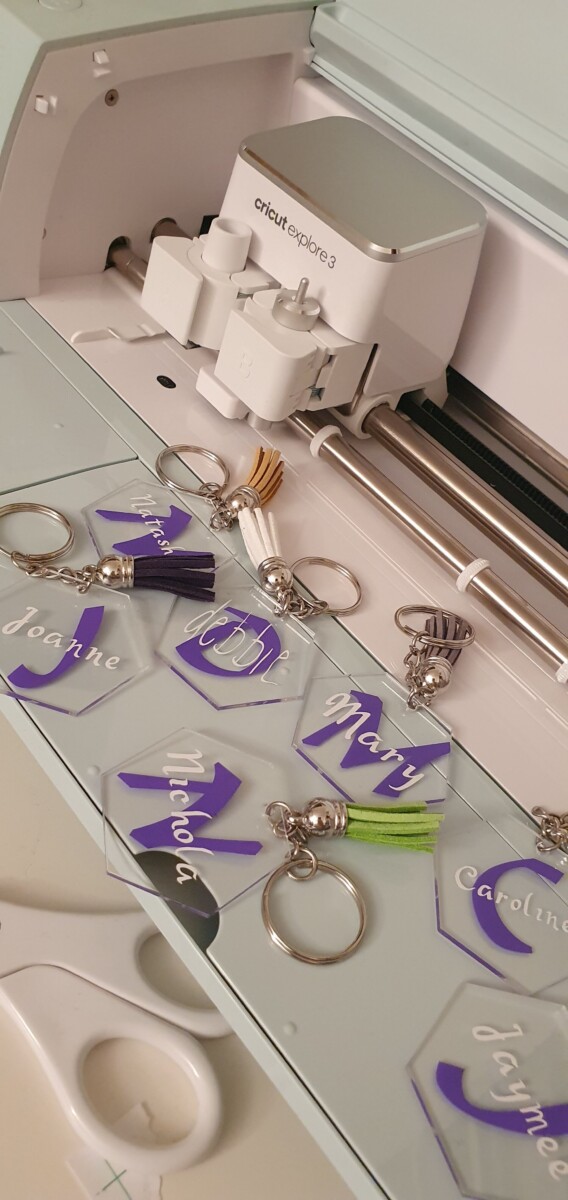
I absolutely love how easy it is to do! Don’t get me wrong trying to “weed” through the excess vinyl can take a long time, however I have come to really enjoy doing this. There is nothing satisfying than seeing your design come together!
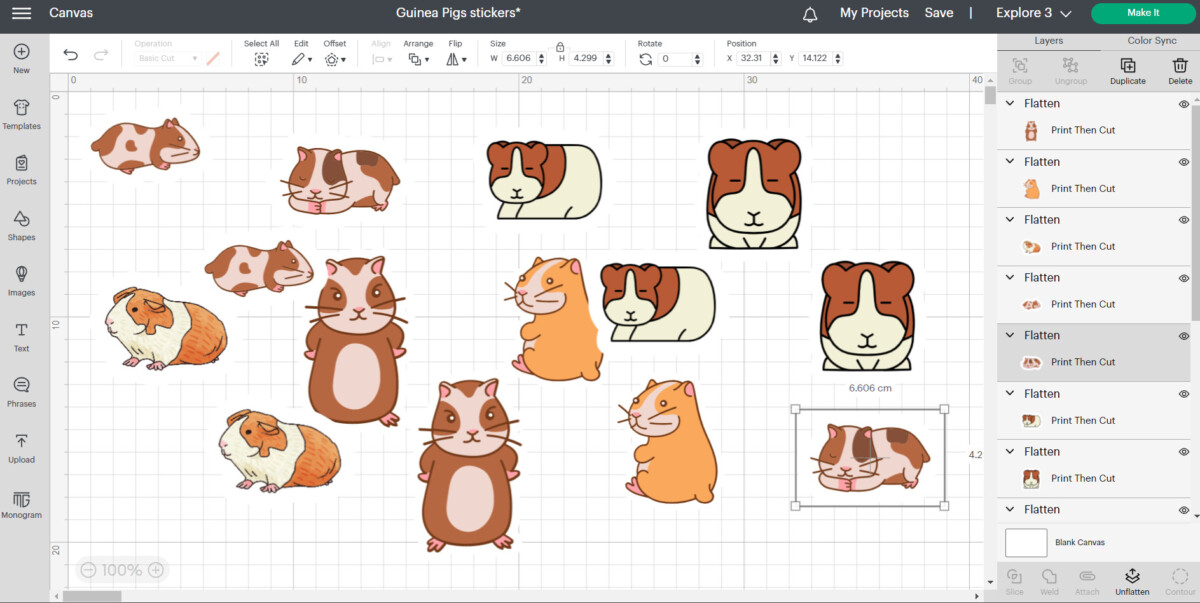
Another thing I couldn’t wait to make was stickers! We recently became Guinea Pig owners and Oliver is obsessed with them so I made up some stickers for him to place on his laptop cover and they are great! To make stickers you do need to be able to print them off seperatly, this is something that Cricut can’t do, however they do have a print and cut feature. This means that you create your stickers within Design Space and then send it to your printer. Once printed you then place it within the machine and it cuts it all out for you!
Overall
I am absolutely in love with my Cricut Explore 3 and have named it “Jiminy” just like the little cricket from Pinocchio. It’s become a part of the family and I love how easy everything is to do. As I mentioned making clothing was something that I really wanted to do.


Leave a Reply