


Now Halloween is over I can now start to concentrate on Christmas. Each year we try to do as much as we can hand made. We try and get the boys as involved as possible too!
We are taking part in a Mum the Madhouse’s series called “Kids Made Cards” Check here to see each days activity. Yesterday the lovely Louise made these amazing T’was the night before christmas footprints! Check them out here.
Today we are making Christmas Tree Cards
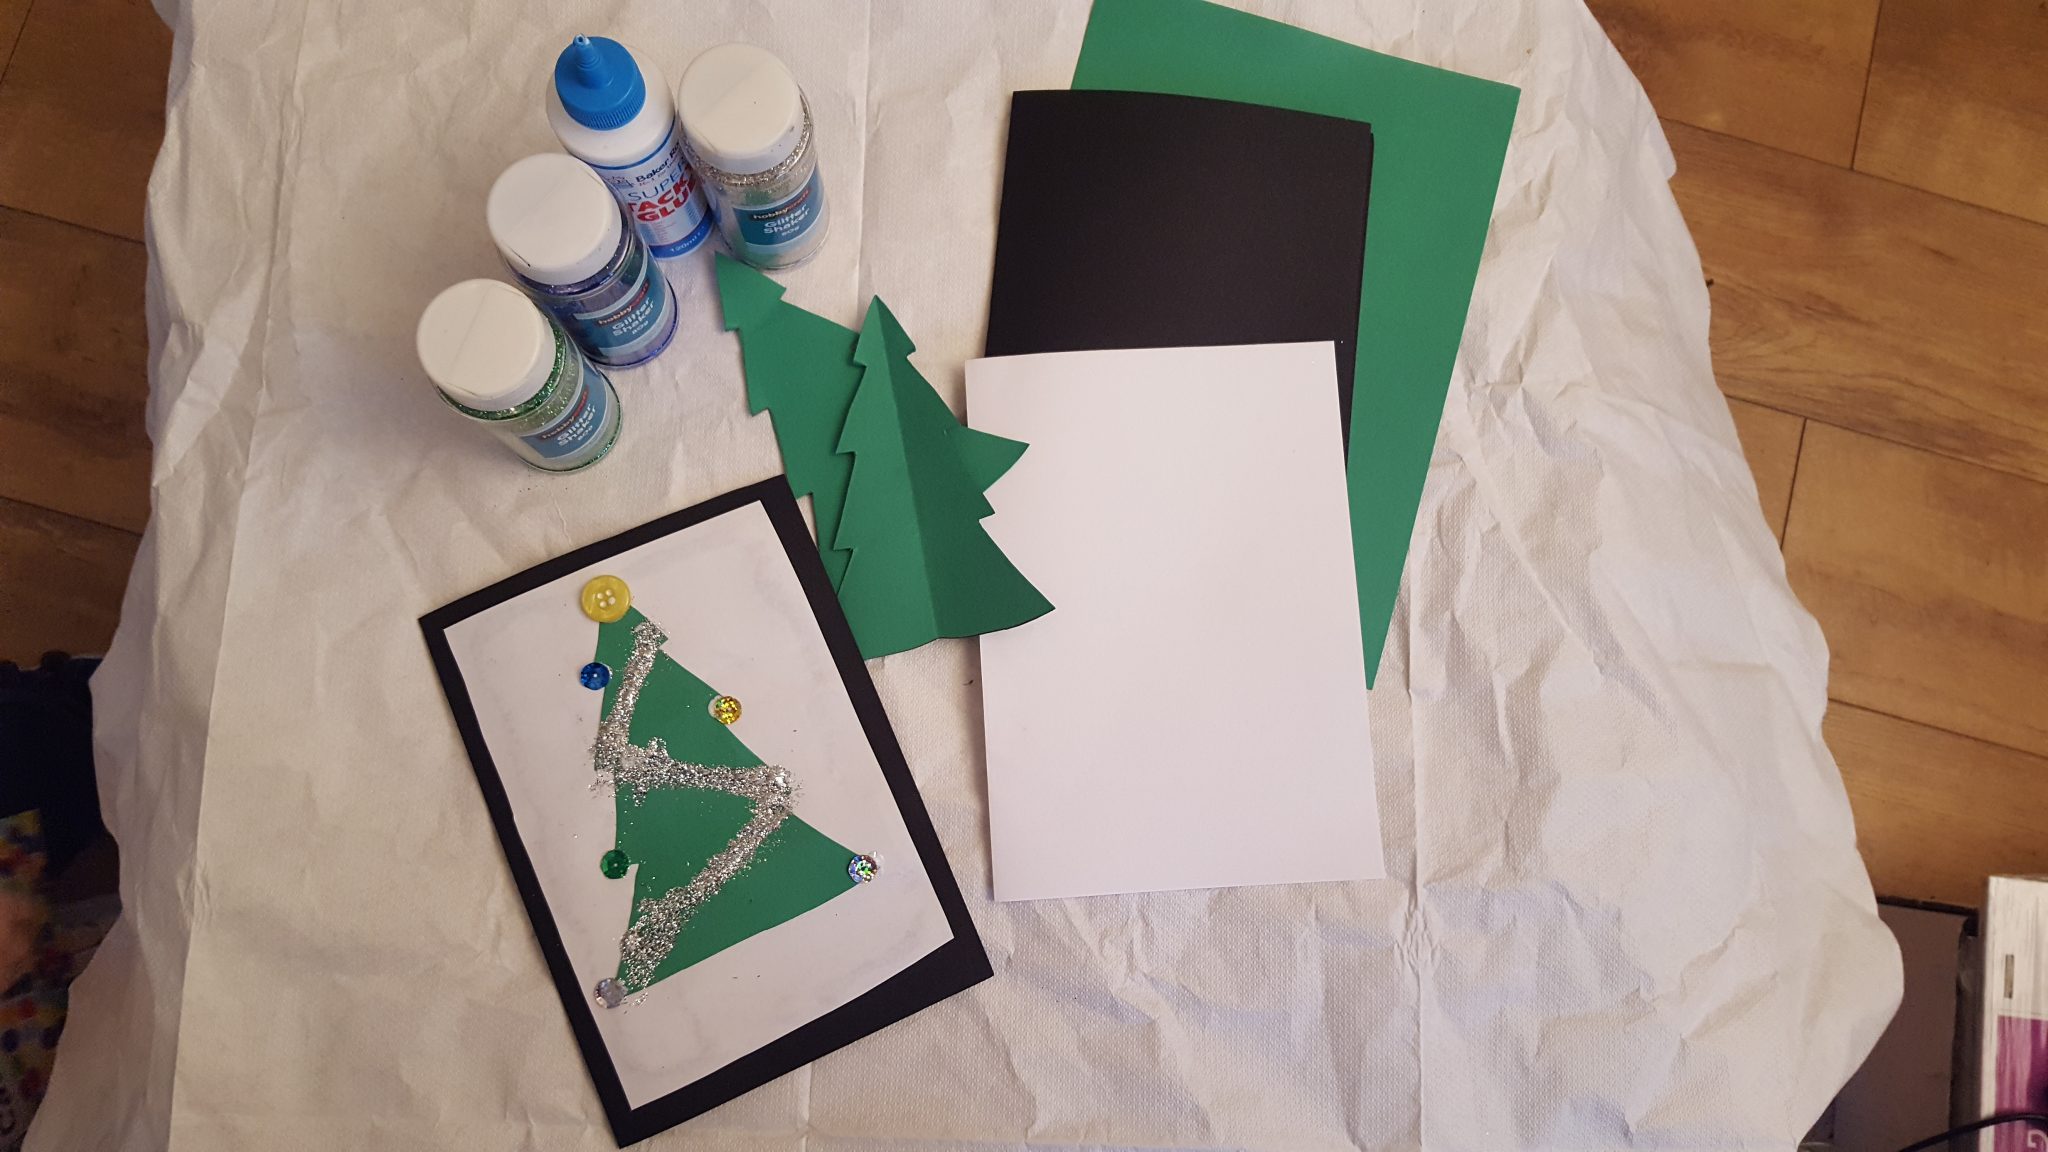
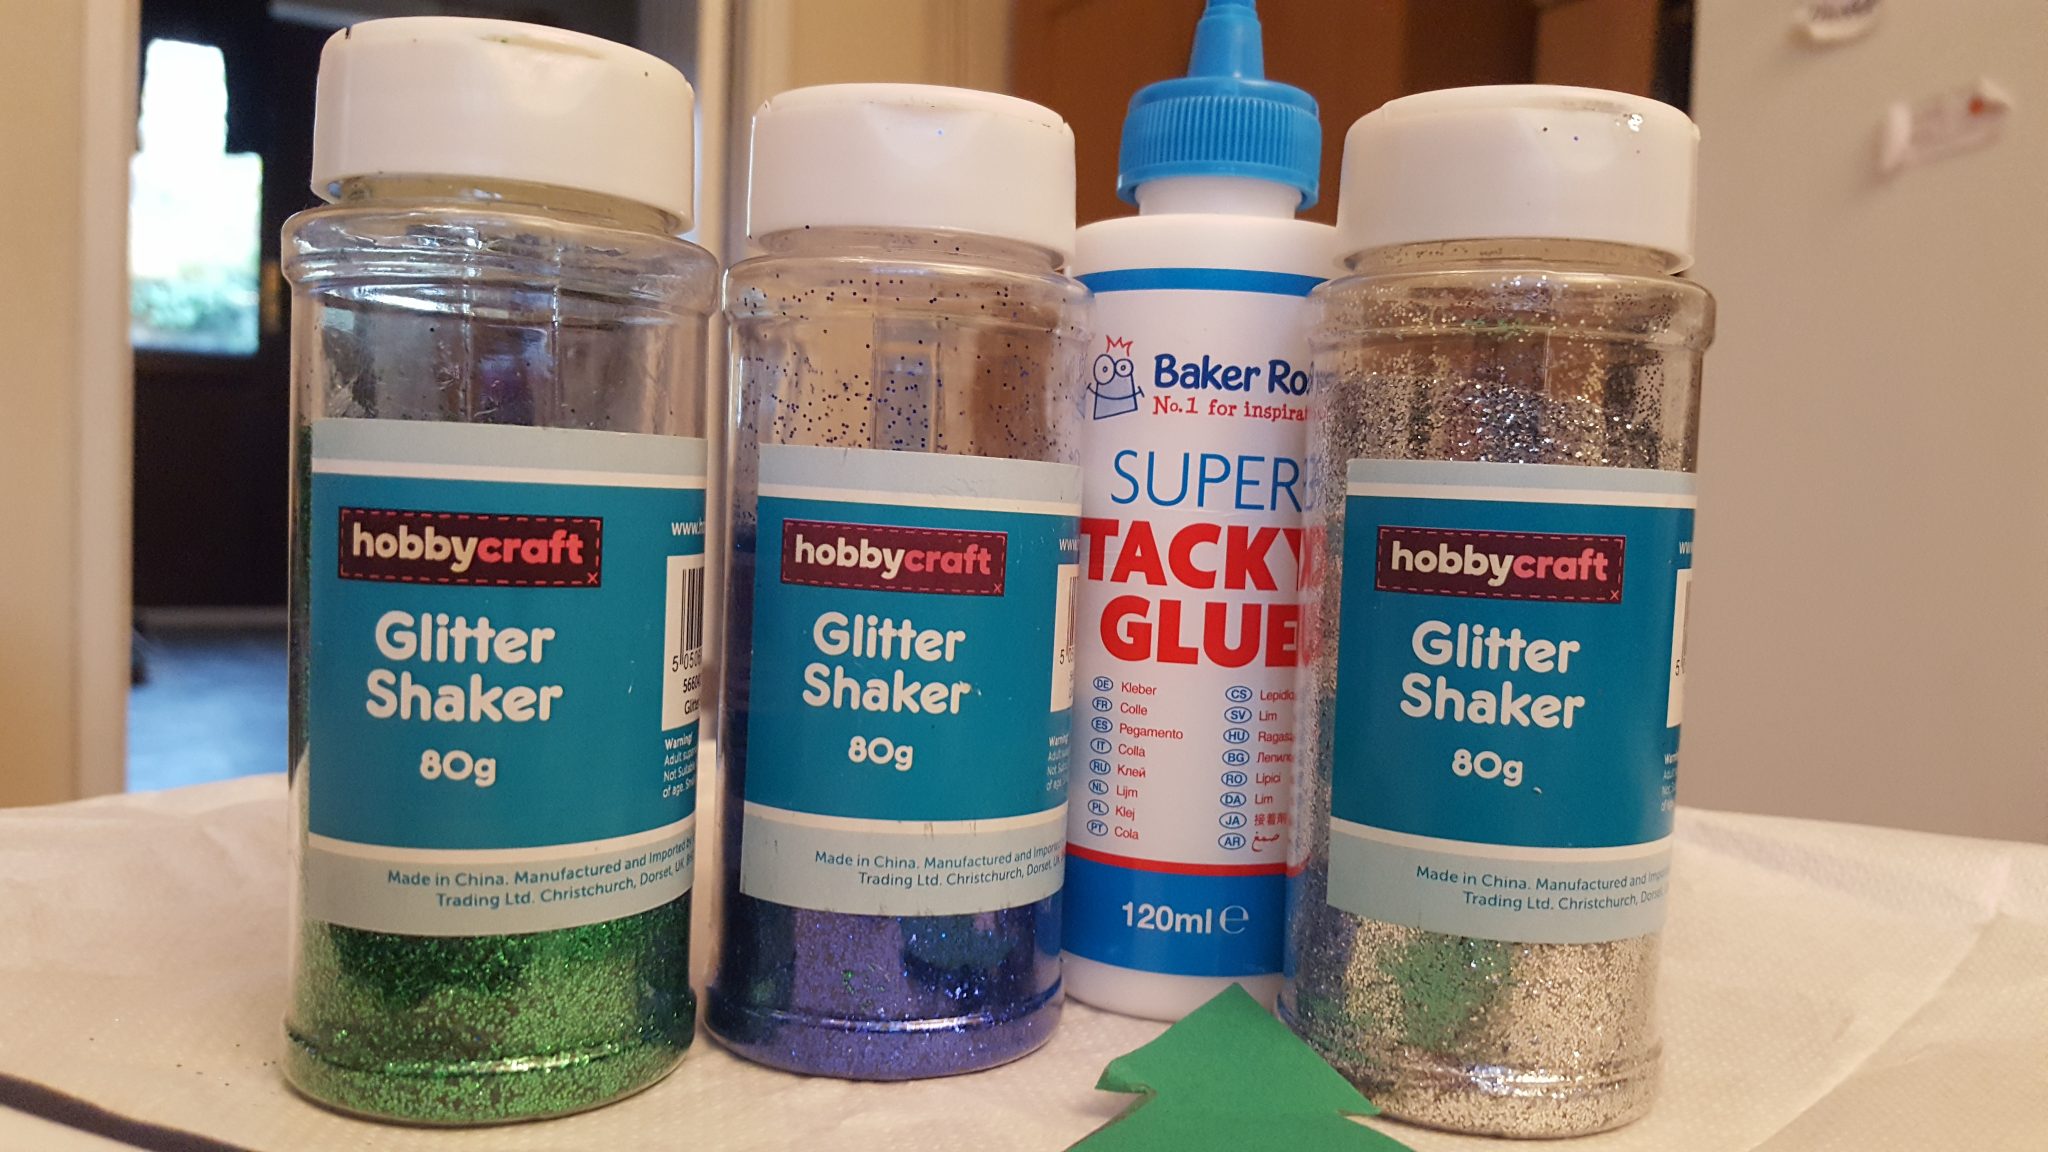
You will need;
- Paper (To back the tree onto)

- Green card (for the Christmas tree),
- coloured card (to put the paper onto)
- glue
- Glitter (Tinsel)
- Sequins (Baubles)
- Button (Tree topper)
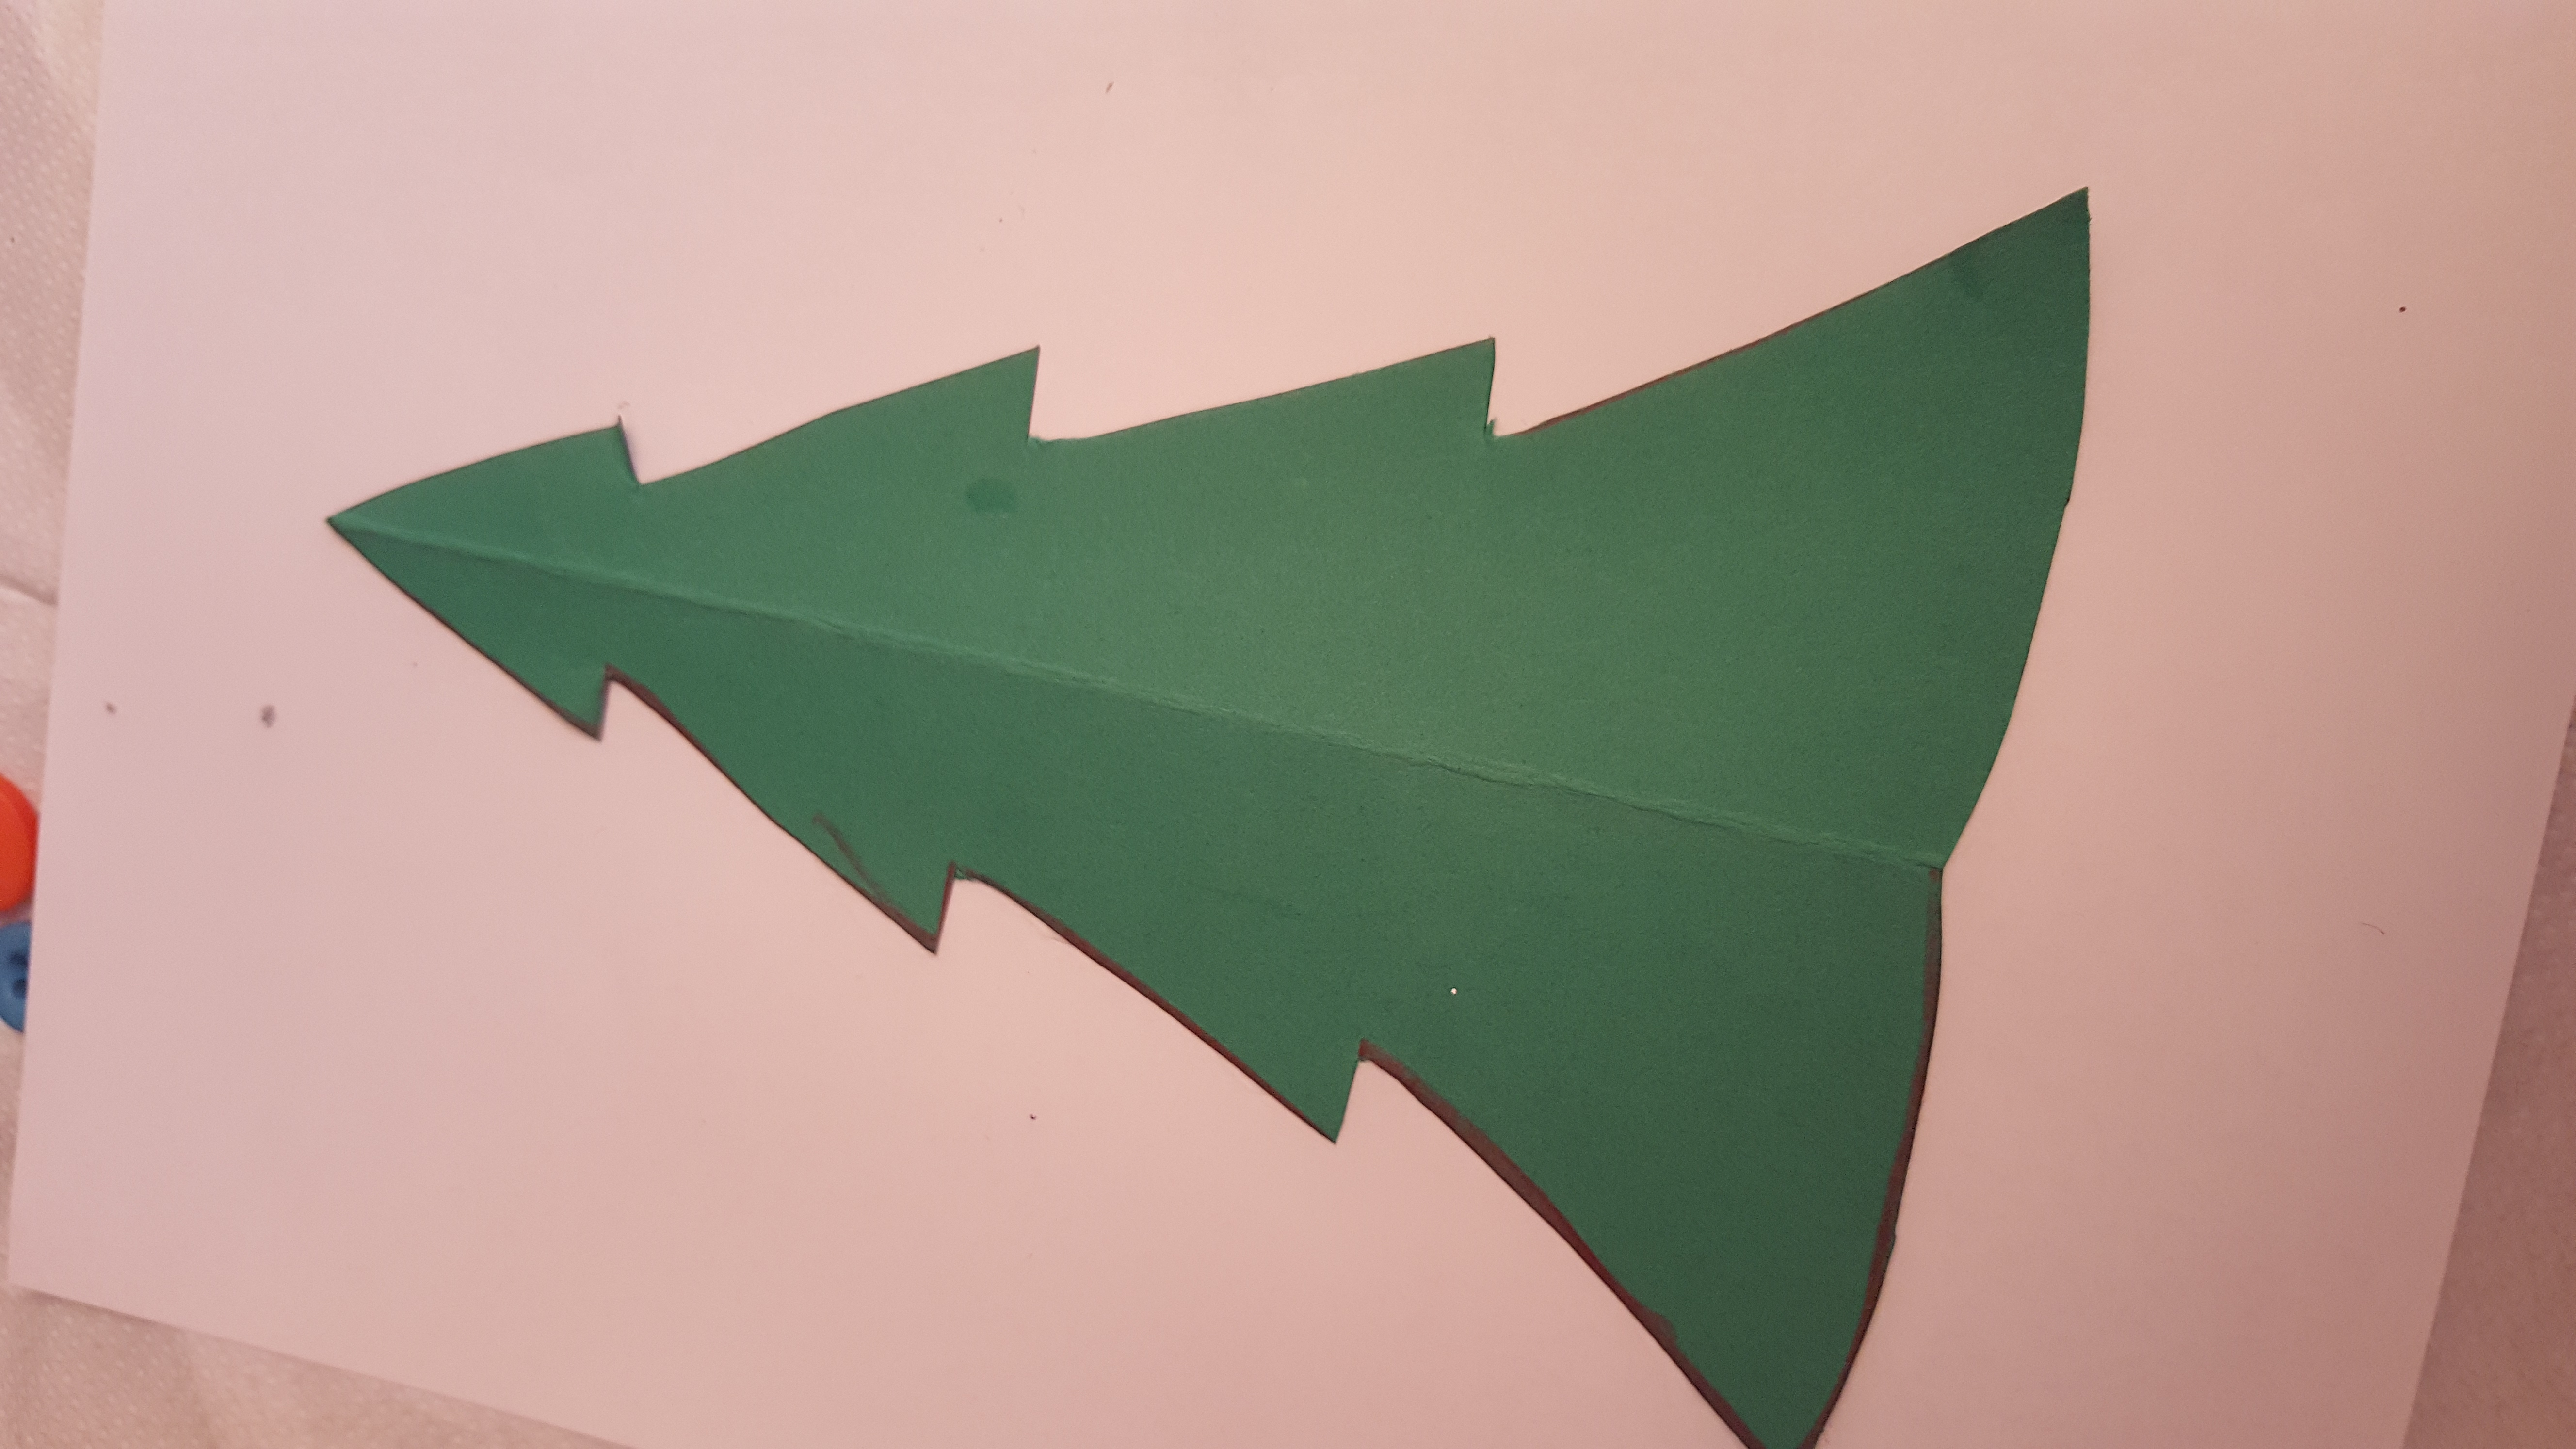
- Cut the outline of a tree onto the green card and back onto the paper.
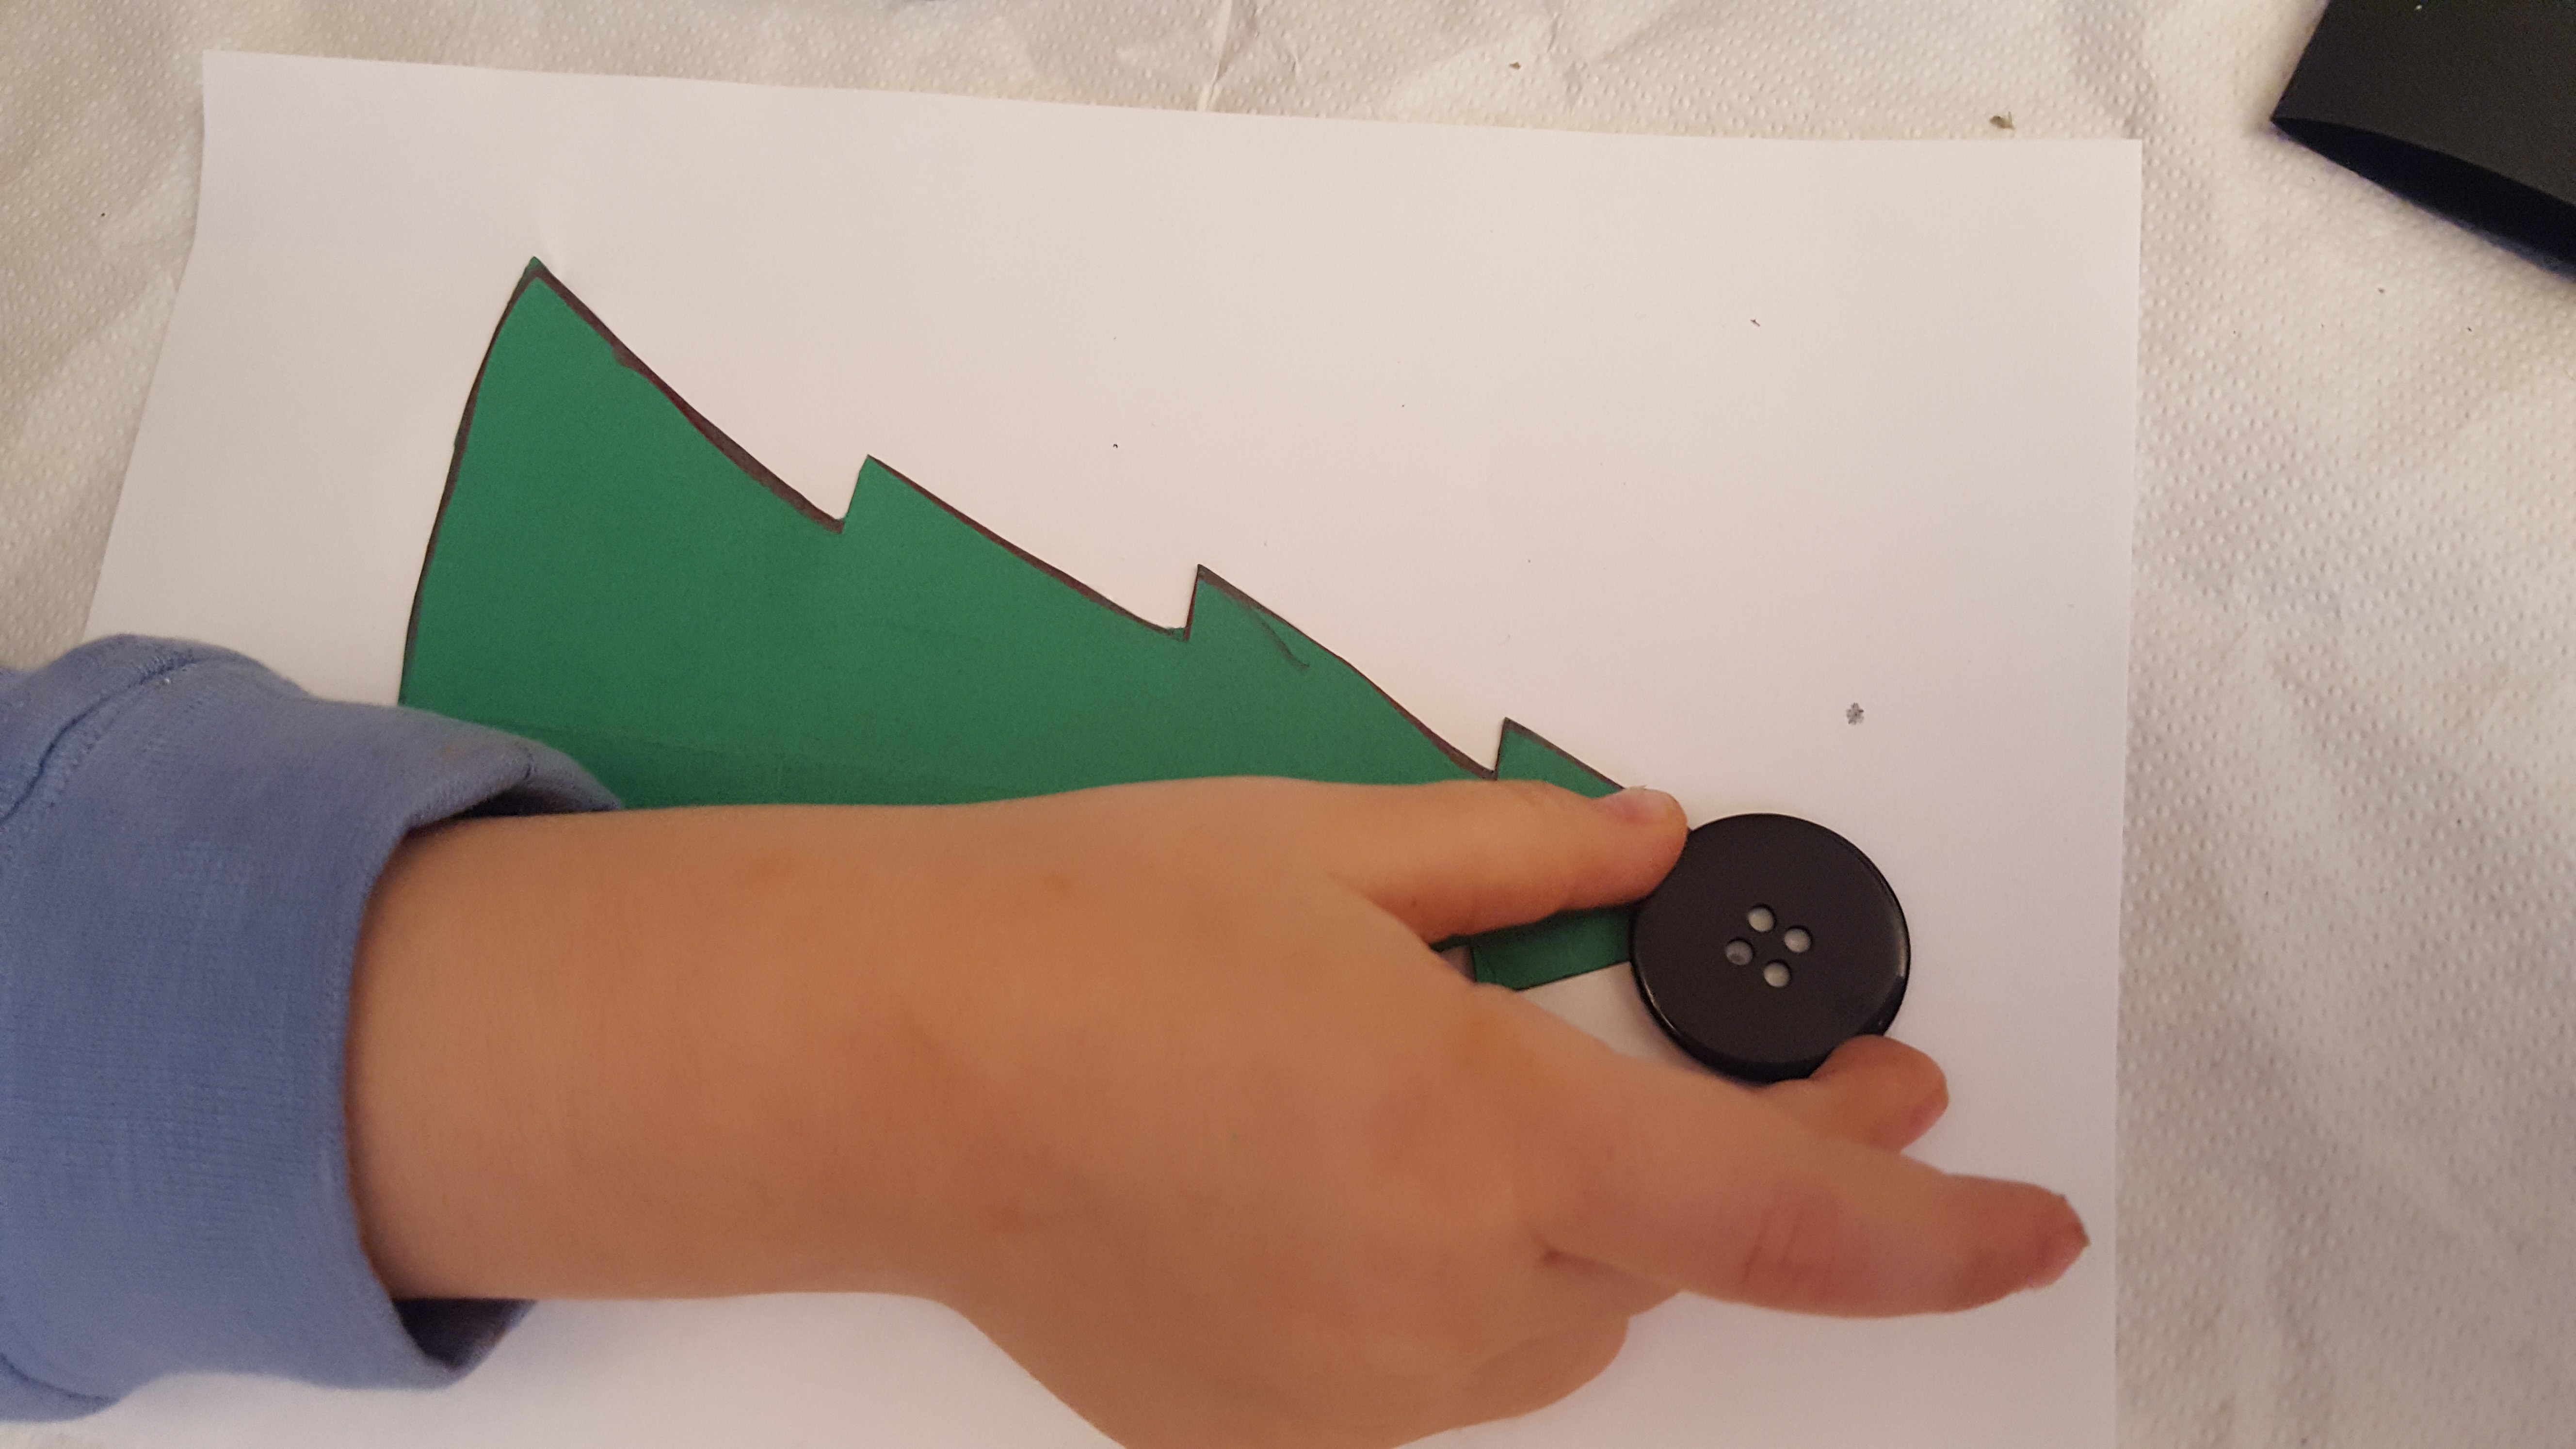
2. Stick on your tree topper button
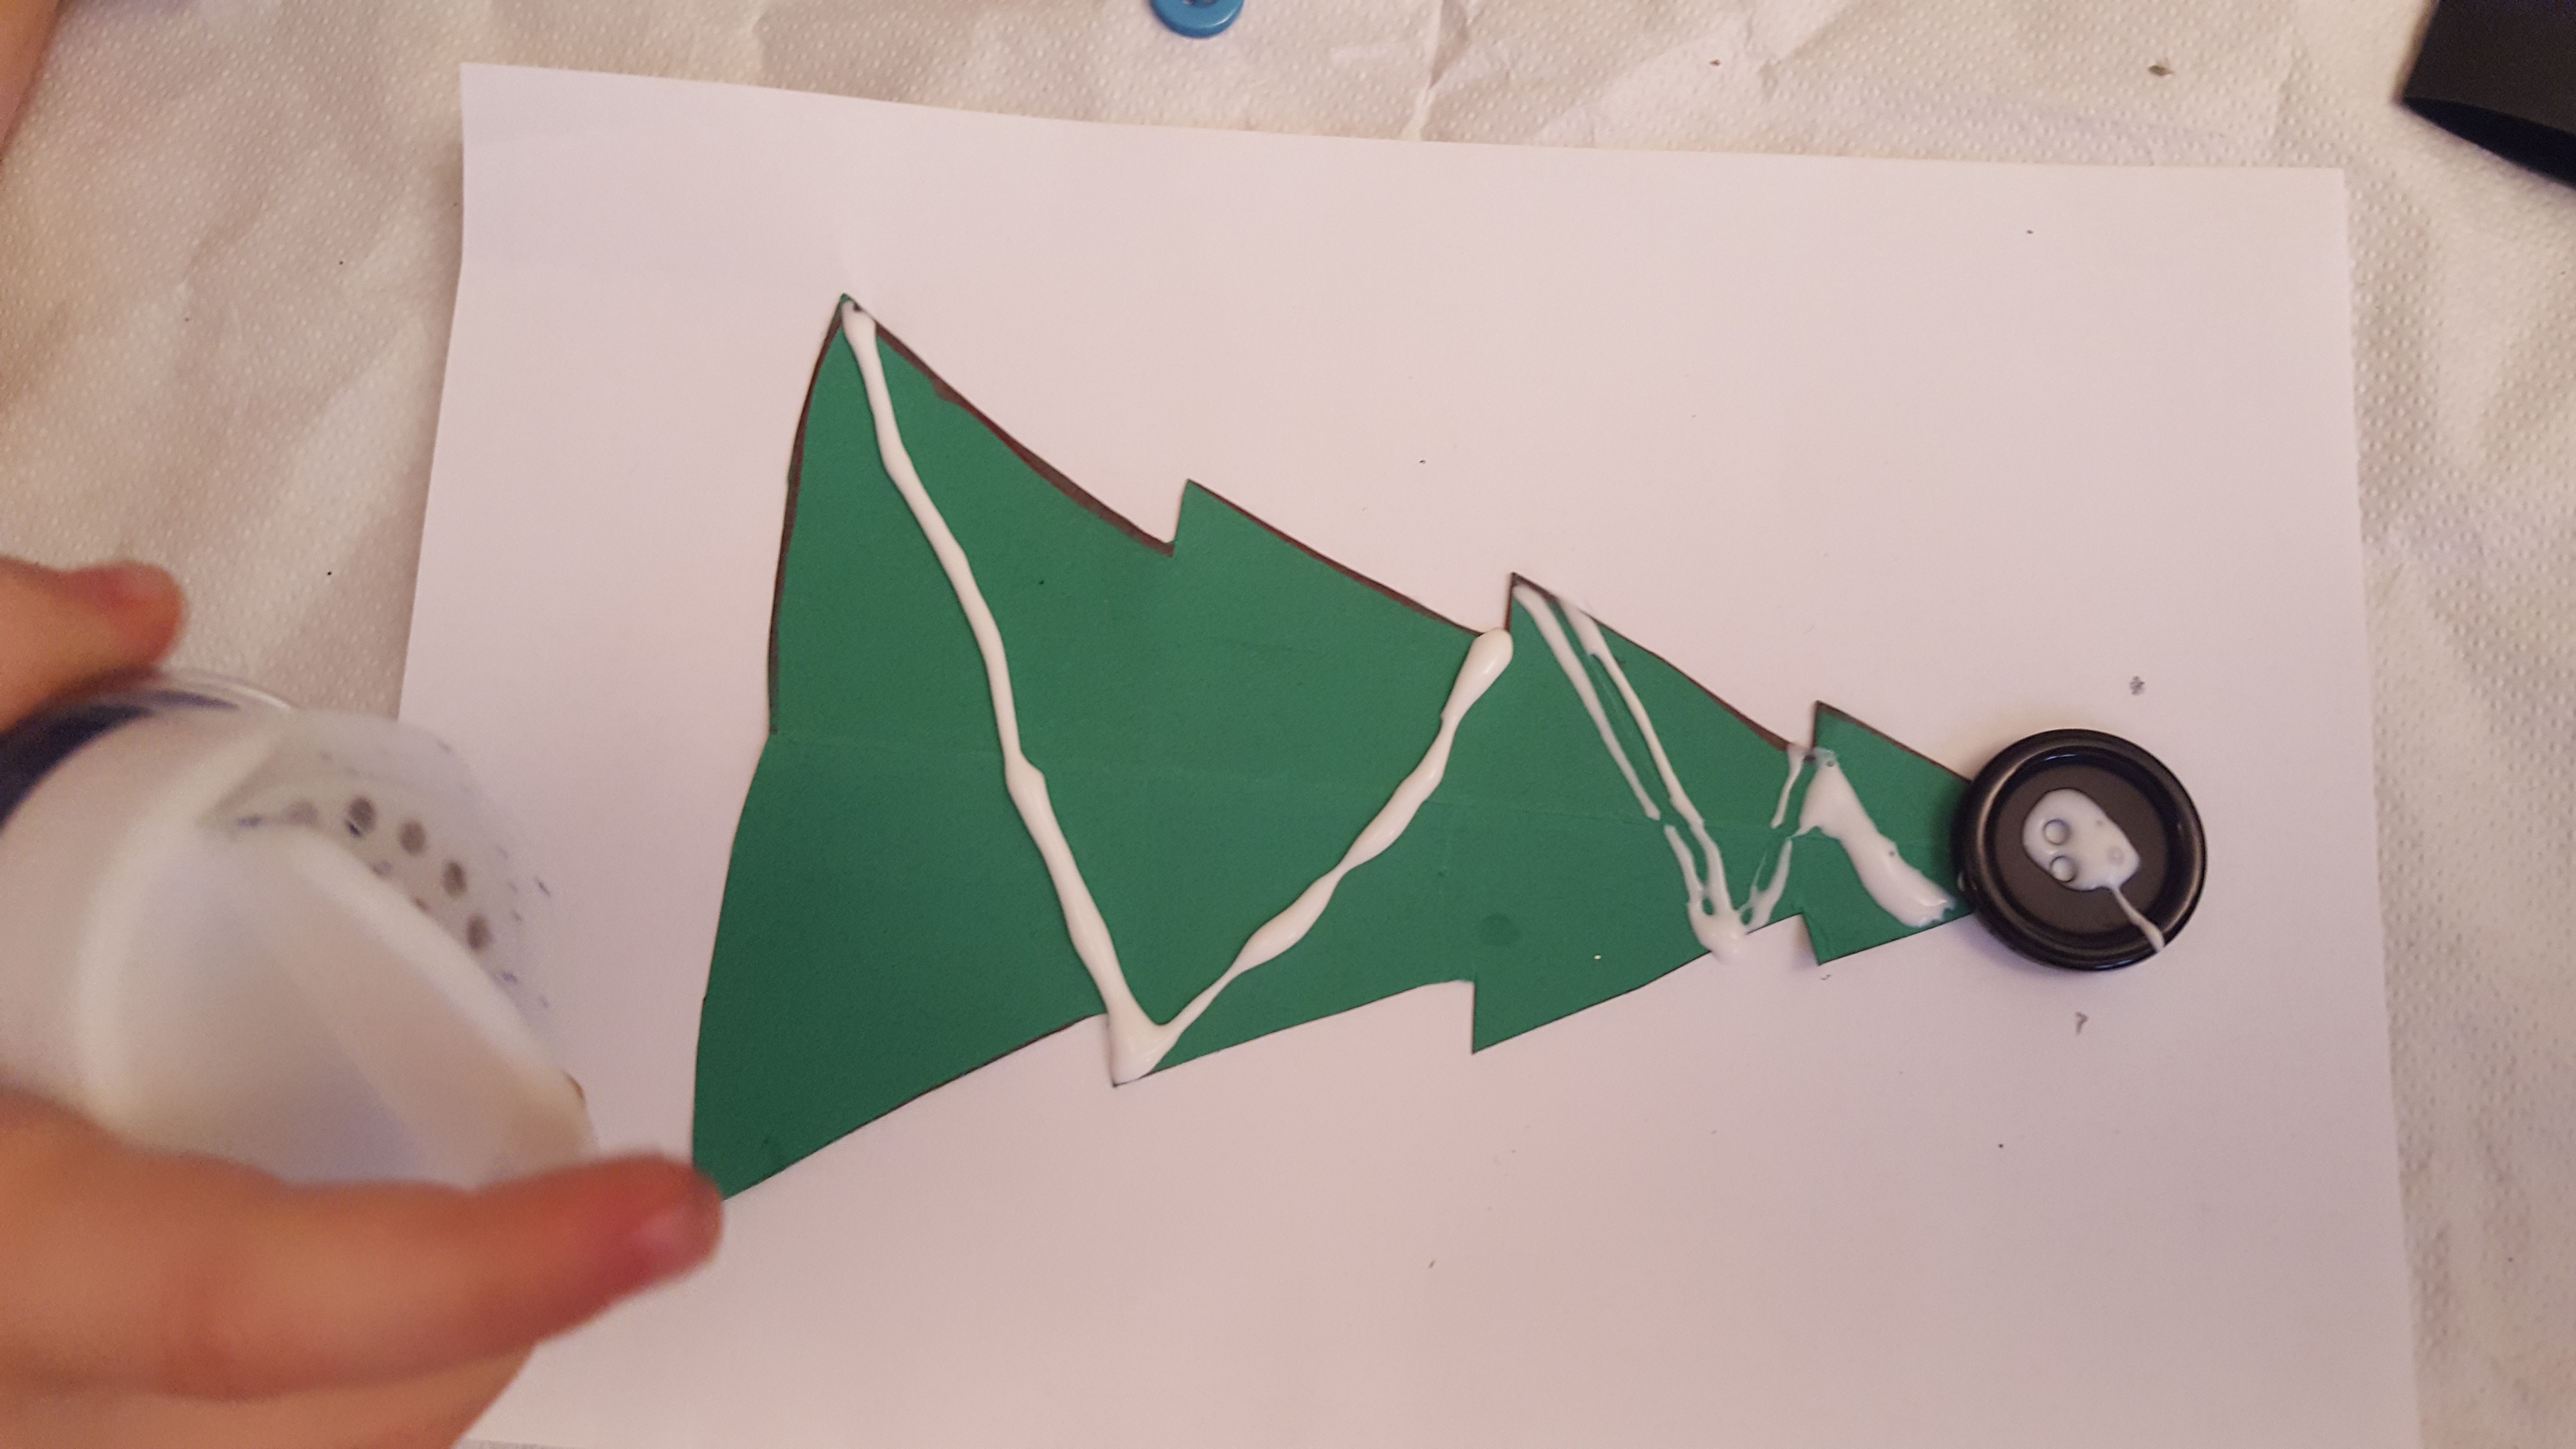
3. Using the glue make your tinsel outline across the tree
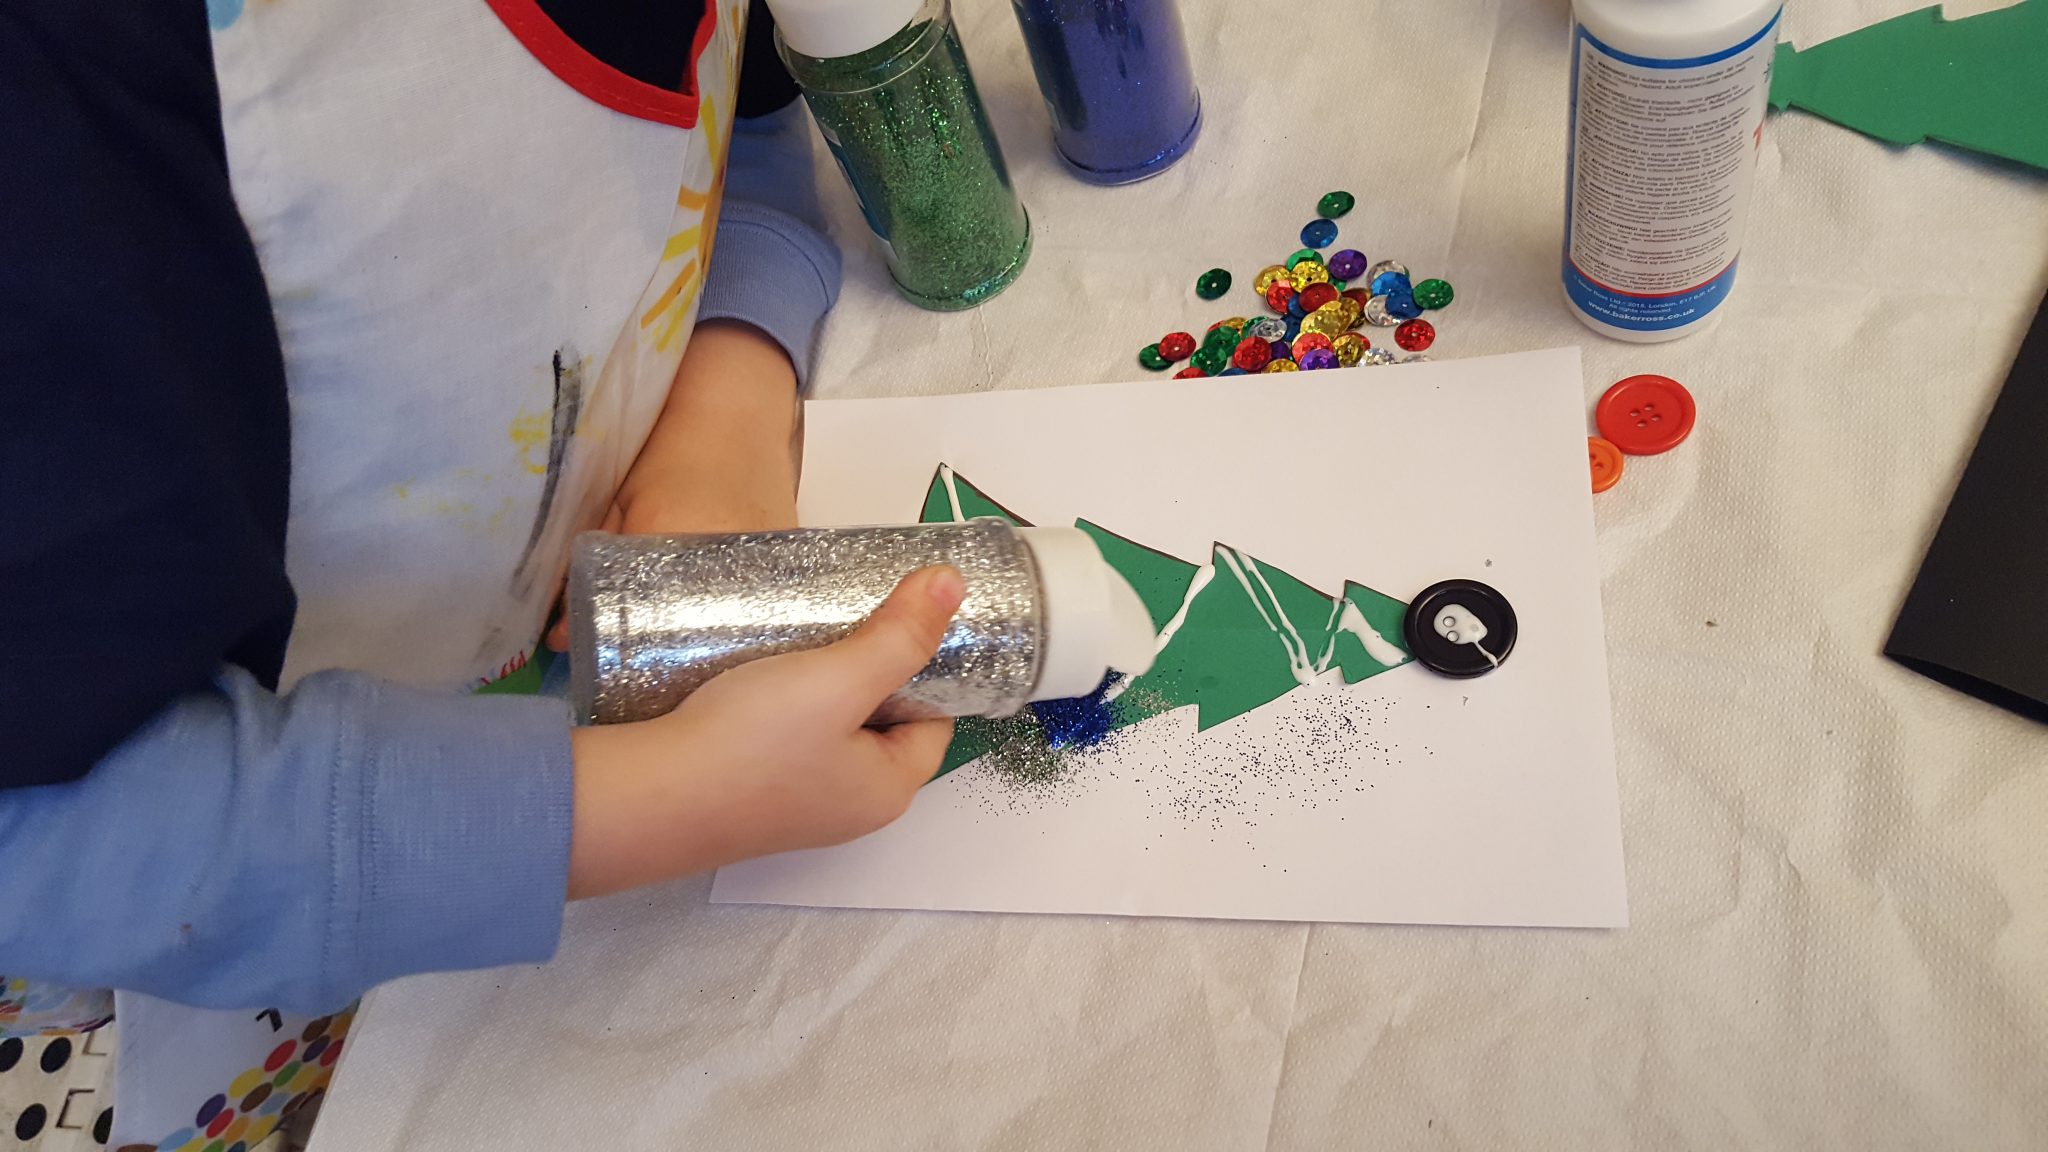
4. sprinkle glitter on your tree!
5. using the glue mark where you want your sequins to go and put your sequins on. 

6. Cut around the tree and back onto the coloured card. Voila! Christmas tree card!

You can choose different materials such as pipe cleaners, and use finger paints for baubles too! Older children can cut the tree out to help aide their fine motor skills and scissor control. There are lots of different ways you can amend to suit age and abilities.
Thank you!


Oh I am aa BIG fan of glitter and love this card. Thank you very much for joining in with the Kid-Made Christmas card series
Such a sweet tree! Buttons make wonderful ornaments!
Yay glitter. You can’t make a Christmas card without the stuff 🙂